
Welcome to the ultimate guide on maximizing the utility of Hotjar, the exceptional tool designed to enhance your website’s conversion rates. As a startup founder or digital business owner, your website is your storefront, your ambassador, and your salesperson, all rolled into one. Learning how to properly utilize Hotjar can truly elevate your online game.
Understanding the Power of Hotjar
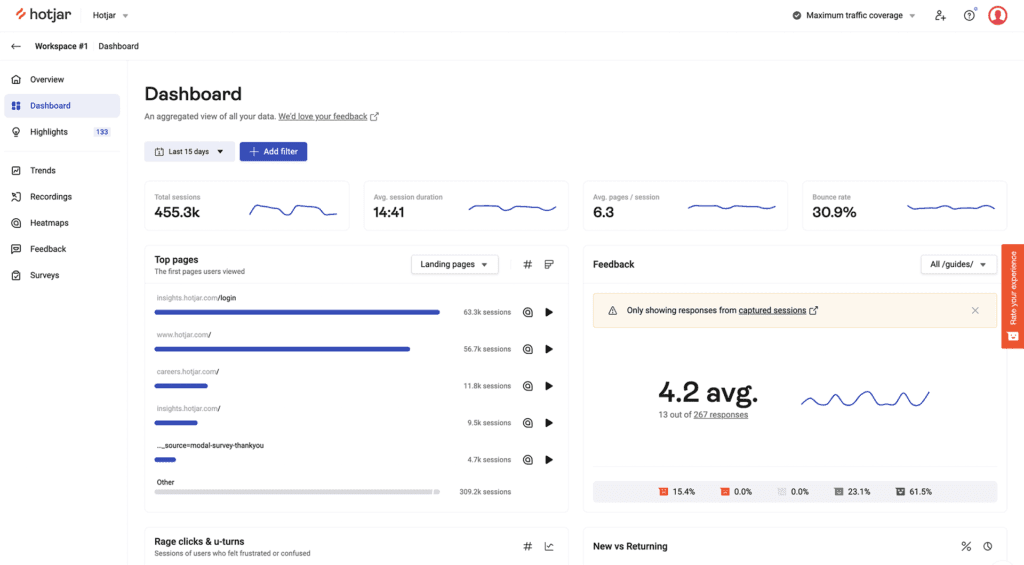
Before diving into the how-tos, let’s understand why you need Hotjar. It’s a potent tool that helps you visualize how your users navigate through your website, what they click, where they spend the most time, and what parts of your webpage they completely ignore. Hotjar combines both Analysis and Feedback tools to offer user behavior insights and user feedback, respectively.
Heatmaps
In the world of user behavior analytics, Heatmaps are akin to X-rays. They provide a color-coded representation of how users interact with your web pages. With Hotjar, you have three types of Heatmaps: Click, Move, and Scroll Heatmaps.
Click Heatmaps: These visualize where users click on your page, helping you understand what attracts their attention.
Move Heatmaps: These show where users move their mouse while on your page, which often signals where they’re looking.
Scroll Heatmaps: These illustrate how far down a page users scroll, allowing you to determine the ideal placement for your key content.
How to Use Heatmaps
After you’ve installed Hotjar and set up your site, creating a heatmap is easy:
- Go to your Hotjar dashboard and click on “Heatmaps”.
- Click “New Heatmap”.
- Give your heatmap a name, define the page you want to analyze, and set the number of pageviews you want to collect.
- Finally, click “Create Heatmap”.
Once data is collected, interpret the heatmap by noting areas of intense color. For example, if an important CTA is receiving less attention (lower heatmap intensity), you may need to make it more prominent or move it to a location where users click or move their mouse more frequently.
Recordings
Hotjar’s Recordings feature is akin to having a miniature camera over your user’s shoulder. It records user sessions, allowing you to observe real interactions with your website. You can see mouse movements, clicks, taps, and scrolling across multiple pages.
How to Use Recordings
- On your Hotjar dashboard, click on “Recordings”.
- Click “Start Recording”.
- Select the percentage of visitors whose sessions you want to record and specify any additional options, like recording on certain pages only.
- Click “Start Capturing”.
When reviewing recordings, look for areas of friction like long periods of inactivity or rapid, random mouse movements, which might indicate user frustration. Recordings can also help you verify if users are interacting with your page as intended.
Conversion Funnels
Hotjar’s Conversion Funnels allow you to visualize the steps your users take before they convert (or leave). By identifying where users drop off, you can optimize those areas to improve retention.
How to Use Conversion Funnels
- On your Hotjar dashboard, click on “Funnels”.
- Click “New Funnel”.
- Define the steps in your funnel by specifying the URLs that make up each step. Give each step a name.
- Click “Create Funnel”.
Once you’ve accumulated enough data, analyze the results to see which steps in your funnel have the most significant drop-off rates, indicating areas that need optimization.
Feedback Polls and Surveys
Hotjar also allows you to directly communicate with your users via feedback polls and surveys. While polls are typically one or two questions displayed on specific pages, surveys are more extensive and versatile, covering various topics.
How to Use Feedback Polls
- On your Hotjar dashboard, click on “Polls”.
- Click “New Poll”.
- Configure your poll – choose where it appears, when it triggers, and what questions to ask.
- Click “Create Poll”.
How to Use Surveys
- On your Hotjar dashboard, click on “Surveys”.
- Click “New Survey”.
- Add your questions. Hotjar allows you to choose from various question types like multiple-choice, text response, Net Promoter Score (NPS), etc.
- Once done, click “Create Survey”.
Surveys and polls not only provide qualitative insights into what your users think but also give context to the behavior data gathered by other Hotjar tools.
Incoming Feedback
The Incoming Feedback feature is a widget that allows users to leave instant visual feedback about your website. It lets users rate their experience and provide suggestions, thereby providing you with spontaneous and direct insights.
How to Use Incoming Feedback
- On your Hotjar dashboard, click on “Incoming Feedback”.
- Click “New Feedback Widget”.
- Customize your widget – choose its color, language, and whether users can leave a comment, highlight, or blacklist parts of the screen.
- Click “Create Widget”.
Regularly review this feedback to identify common themes or issues that need to be addressed to improve your site’s user experience.
Wrapping Up
With Hotjar’s comprehensive toolkit, understanding and optimizing your user experience becomes an attainable goal. Be sure to regularly review and analyze the data and feedback collected to identify trends and make necessary improvements.
Remember, your website isn’t a static entity but an evolving one. As you continue to understand your users better with Hotjar, it should continuously evolve to serve them better and, consequently, achieve higher conversion rates. Happy analyzing!
Read Next:
- How to Use Socialbakers: An Explainer
- CAN-SPAM Act: A Must Read for Email Marketers
- Porter’s Five Forces Model: Explained!


Comments are closed.